How to Setup Notifications
Notification setup in Configuration File
Summary
Notifications can be automatically sent out when payouts are generated using TezPay. The text are configured in the config.json file, however there are preliminary steps needed inorder to be able to utilize these features. This section will review the necessary steps and information needed from platforms that allow for auto-notifications sent via TezPay. **This tutorial is meant for individuals that have zero experience with interacting with these systems - feel free to skip sections if you are an advanced user.**
A Baker can use TezPay to automatically send notifications that payments have been made. This allows for ease of communications for the public baker to the delegates and we will walk through steps to allow for this here. There will be two sections:

1. Twitter Setup
2. TezPay config.json file setup
In order to setup twitter, be sure you are signed in on a browser window to your twitter account.
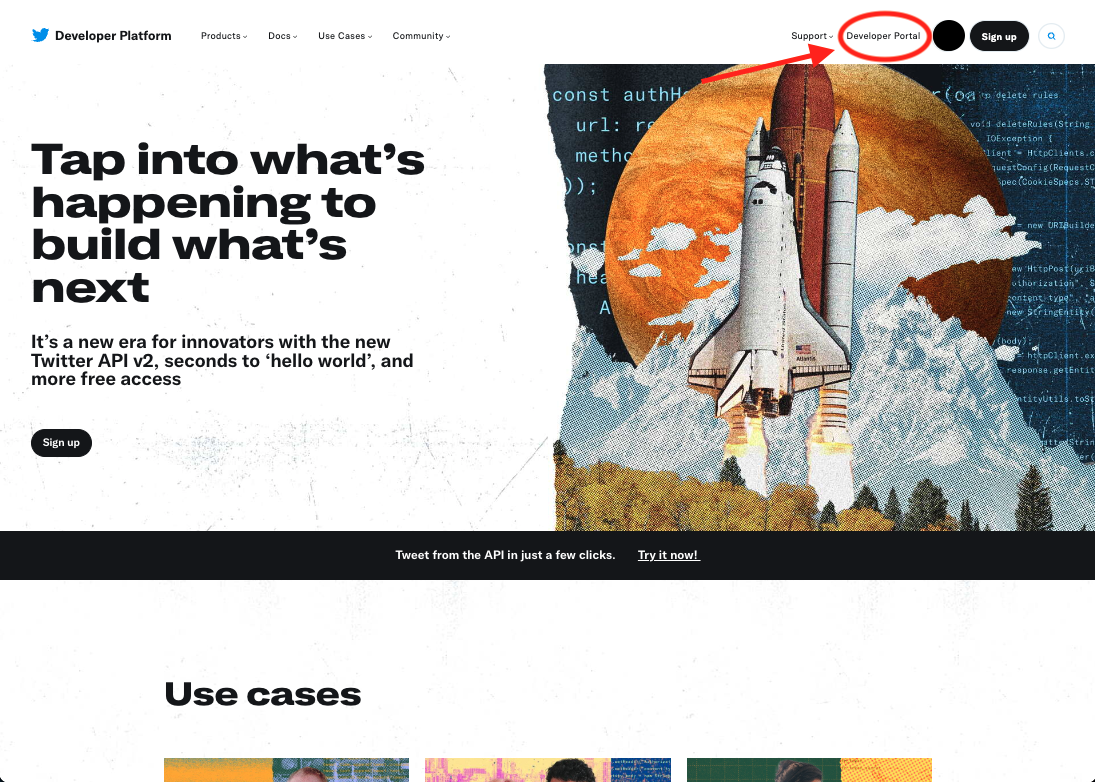
- While being signed into Twitter in a seperate browser, navigate to https://developer.twitter.com/ and select ‘Developer Portal’ in the top menu- the developer portal site where you will set up your development account and get the required information for the config.json file and set up permissions.
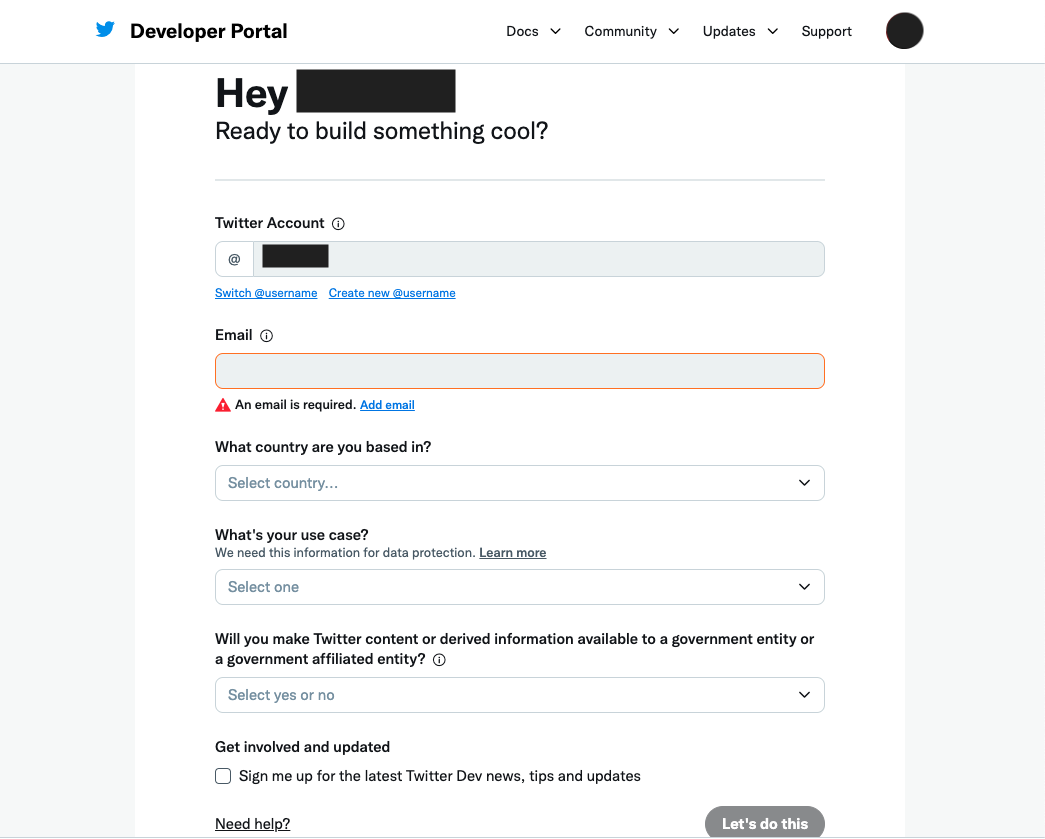
- You will then need to fill in some basic information in order to enable the Development Portal profile to be active. be sure that all of the information is correct (if you use multiple twitter accounts be sure the one you want to enable for notifications is the correct one).
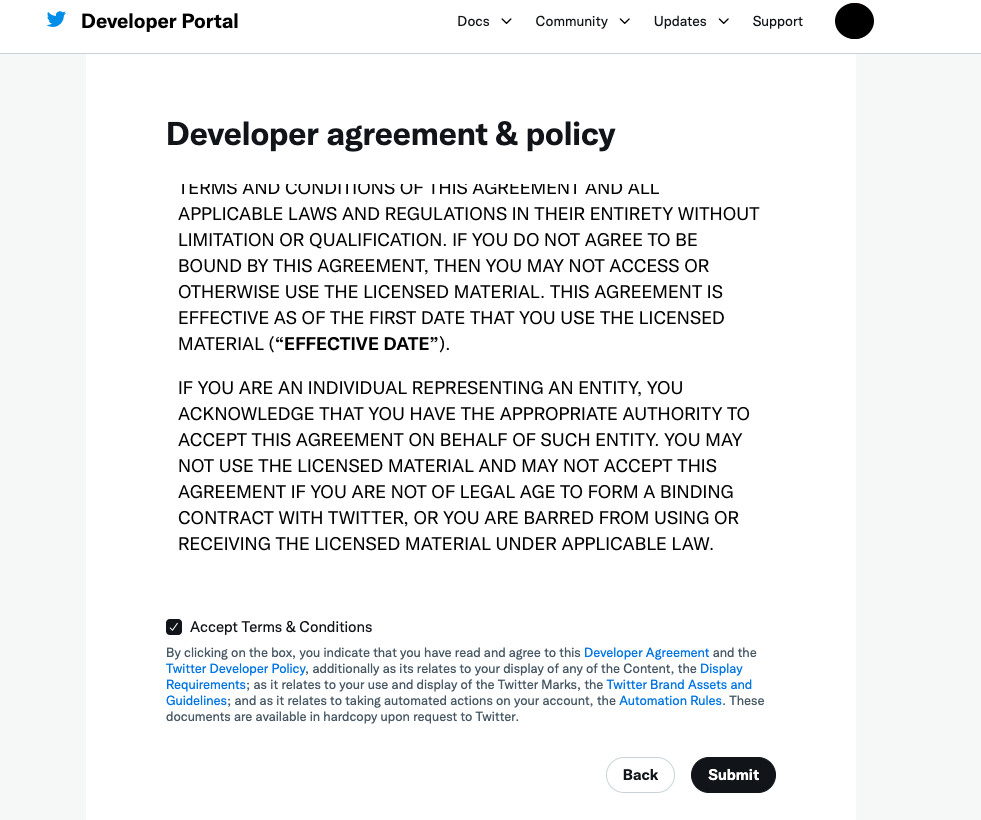
- Once you submit the information for your development profile - you will need to accept the Terms and Conditions.
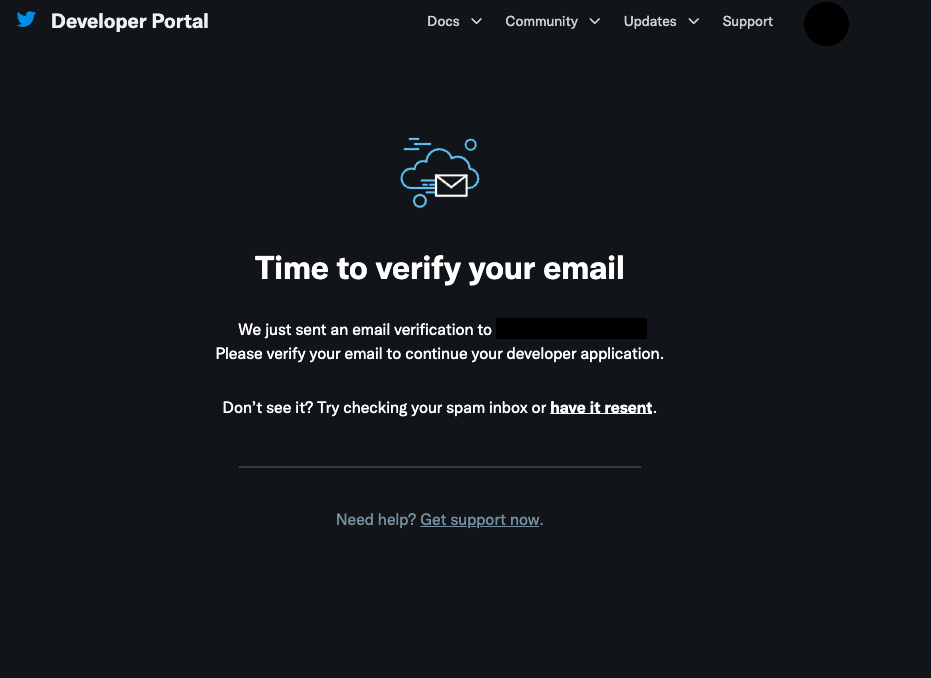
- After accepting Terms and Conditions - you will need to verify your e-mail address that you provided by clicking the link in the e-mail sent from Twitter.
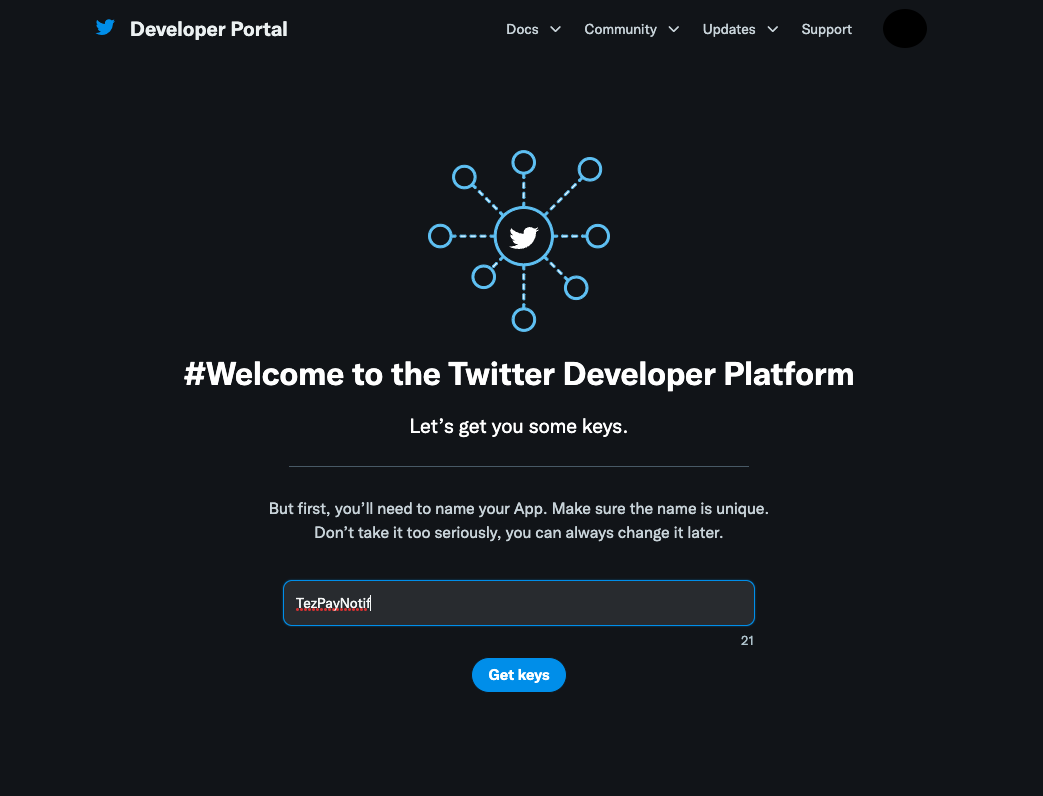
- Once you verify your email - this will automatically link you back to your Developer Portal Site and prompt you for an ‘App Name’ (see TezPay Notif in screen capture).
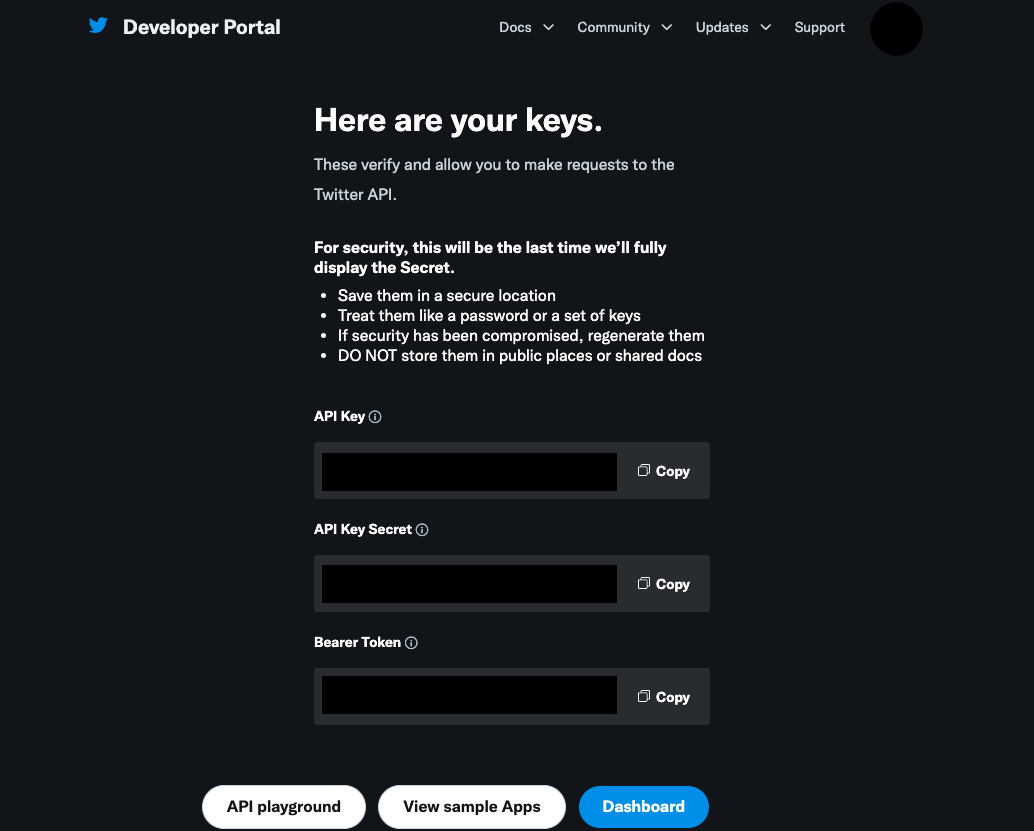
- Once you name your App - you will be given 3 seperate Keys. These will be used to inorder to call the Twitter profile that you are looking to send Notifcations to - and sign for the permissions. Be sure to have these saved in a secure place - they will be used later. Once you have the keys secured, click ‘Dashboard’ button in lower right.
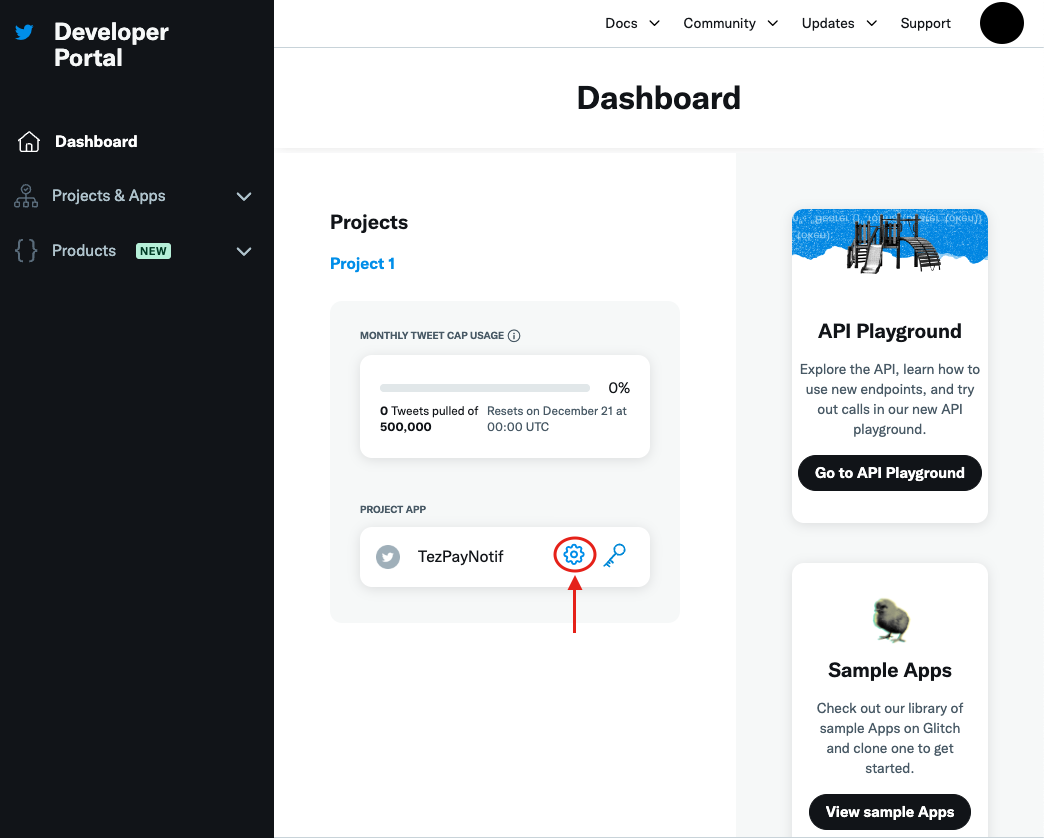
- You will now be in your Twitter Development Dashboard and see the App you created (for this example TezPayNotifs). Click the ‘gear’ icon to continue set-up.
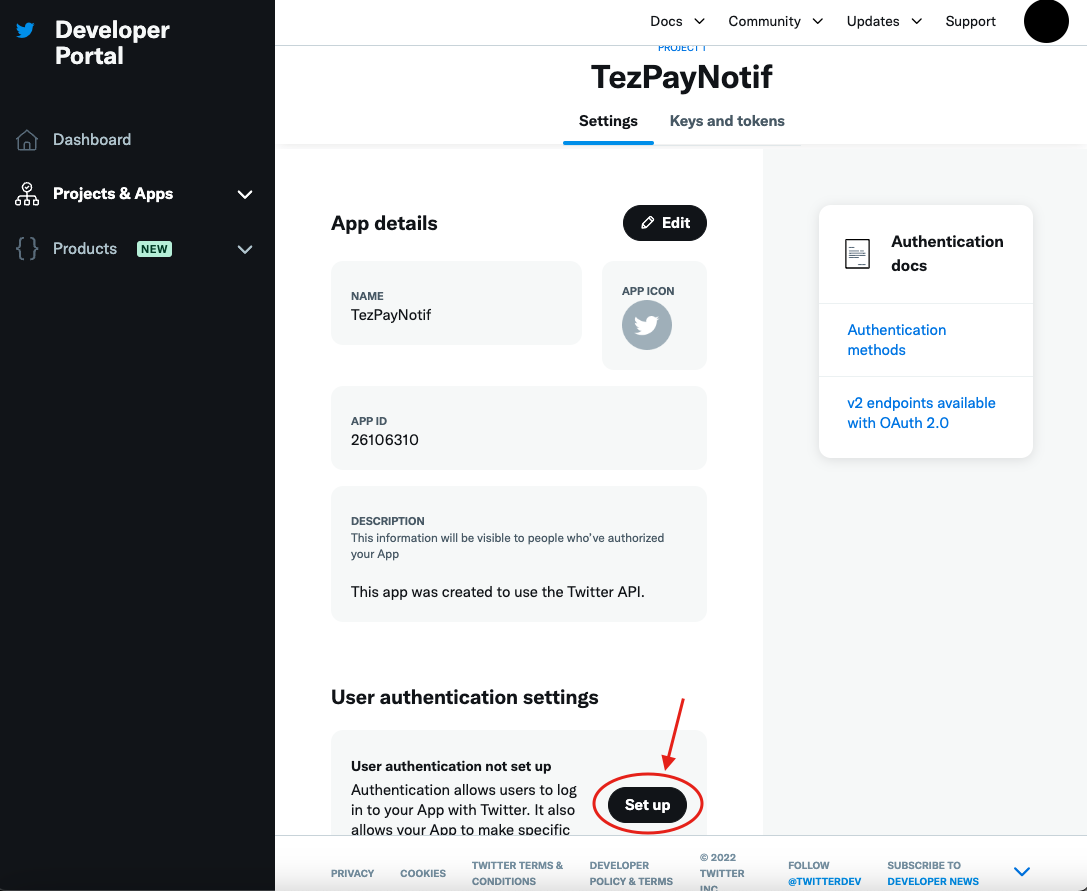
- Navigate to ‘User Authentication Settings’ section and click ‘Set-up’ to continue.
-
We will fill out the required items for the form under User Authentication settings as follows:
i. App Permissions: Select ‘Read and write’
ii. Type of App: Select ‘Web App, Automated App or Bot’
iii. App Info:
a. Callback URI/Redirect URL: this can be anything but for this example we will use ‘https://www.TezPayisthebest.com/'
b. Website URL: this can be anything but for this example we will use ‘https://www.TezPayisthebest.com/'
iv. Click ‘save’ when finished.
-
You will then get your Client ID and Client Secret - copy and save both of these with your other Keys attained earlier. Click ‘Done’
 |
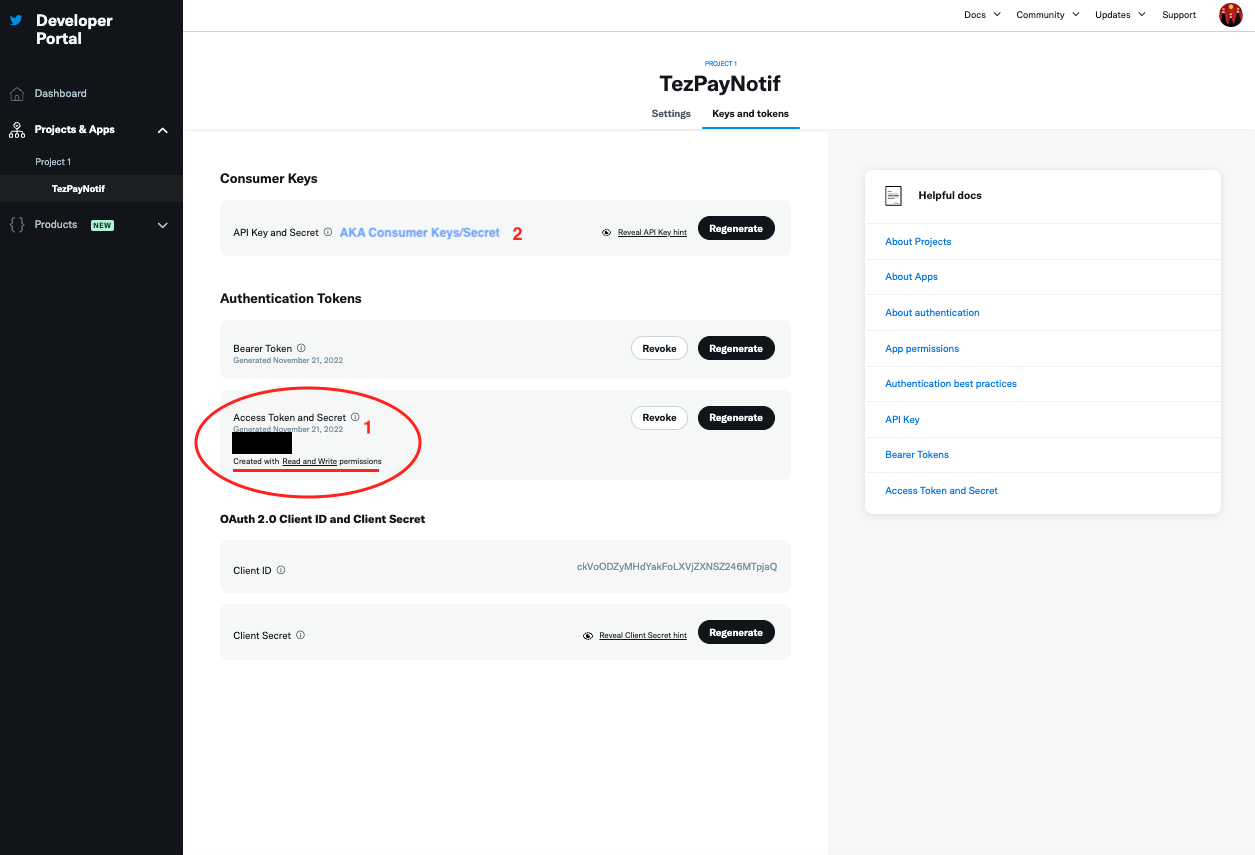
- This will bring you back to the main screen of the App - navigate to the ‘Keys and Tokens’ toggle at the top of the page. Now, ‘Generate’ an Access Token and secret - write these down and then once you have confirmed you will be ready to edit the config.json in TezPay. Note - be sure the Access Token and Secret has ‘read and write’ permission (see image below). For the Next step - setting up the config.json - you will need four items:
a. API Key and Secret (also known as Consumer Key/Secret)
b. Access Token and Secret
We will use the API Key and Secret as well as the Access Token and Secret to edit the Config file to allow for permissions and calls to push notifcations upon each successful payout.
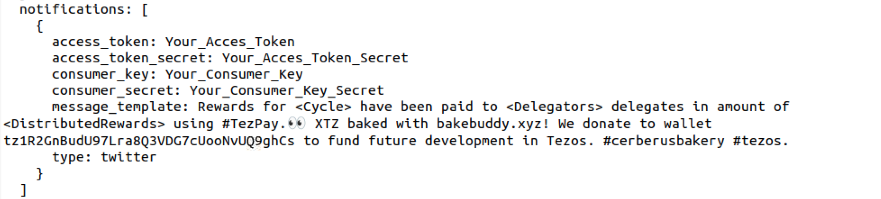
- You will add the following code block at the base of the config.json file to enable the notifications for TezPay. Note that the message_template can be anything and you can use the , , terms to automatically fill in these terms for each cycle.
notifications: [
{
access_token: Your_Acces_Token
access_token_secret: Your_Access_Token_Secret
consumer_key: Your_Consumer_Key
consumer_secret: Your_Consumer_Key_Secret
message_template: Rewards for <Cycle> have been paid to <Delegators> delegates in amount of <DistributedRewards> using #TezPay.👀 XTZ baked with #TezBake! We donate to wallet tz1R2GnBudU97Lra8Q3VDG7cUooNvUQ9ghCs to fund future development in Tezos. #cerberusbakery #tezos.
type: twitter
}
]
- Once you have filled in the necessary information - you have setup Notifications for Twitter! Test the notification by using command:
a. tezpay test-notify
Any questions/comments/concerns? Please contact the Tez Capital team on
Discord or Telegram